Black Gold
The 18-day compost
A fast way to get new juicy soil
Composting is a natural process where organic matter gets broken down into nutrient-rich soil. It involves the decomposition of various organic materials, such as kitchen scraps, yard waste, leaves, and plant trimmings, by microorganisms like bacteria, fungi, and other decomposers. In permaculture, we use different kinds of composting depending on the available materials and our goal with the finished product.
Our favourite approach is the 18-day hot compost, which is a precisely assembled mixture that breaks down the organic material in a controlled environment in just a few weeks. This specific approach is also known as the Berkeley method or rapid composting, which was developed in the 70s by the University of California. The biggest benefit of this method is that as it achieves a high heat, which accelerates the decomposition process, it kills pathogens and weed seeds during the process, so even the diseased plants can be added, just like yeasty bread or dead animals and bones.
What do you need for hot compost?
The recipe
Ingredients
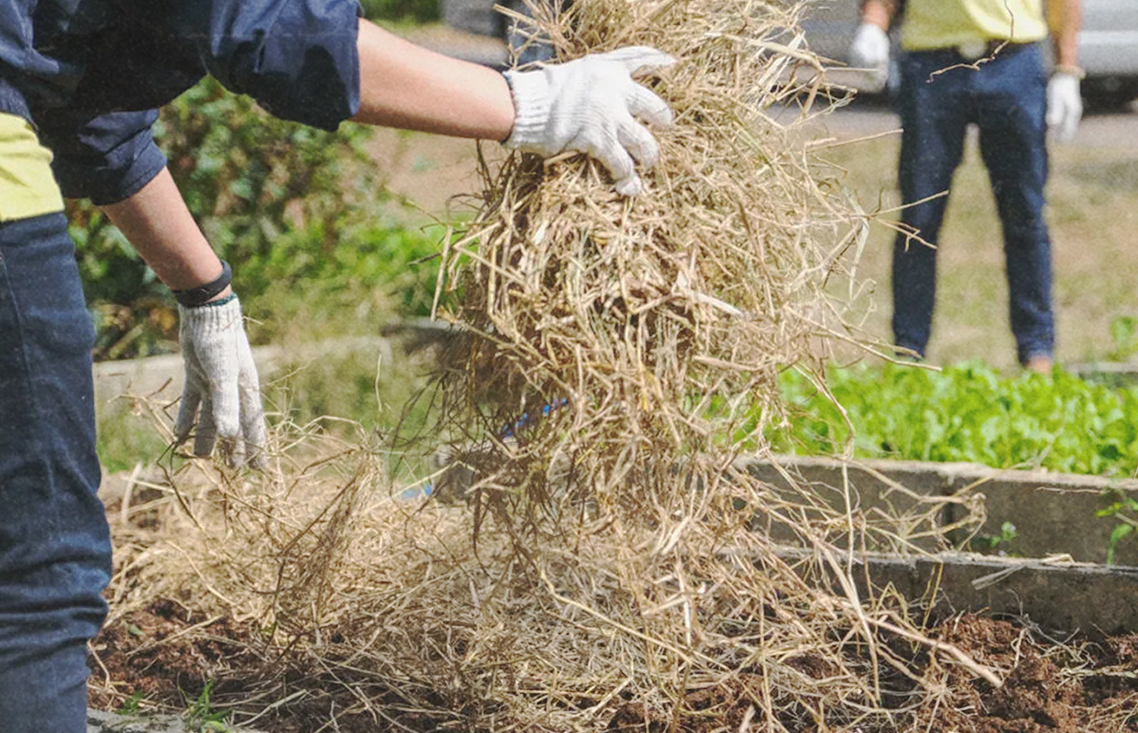
- ⅓ dry brown material – (e.g. dry leaves, paper waste, straw; C ratio more than 30-50:1; slow to break down; has to be cut up fine or shredded, as they must have a large surface area)
- ⅓ green material – (e.g. finely cut fresh greens)
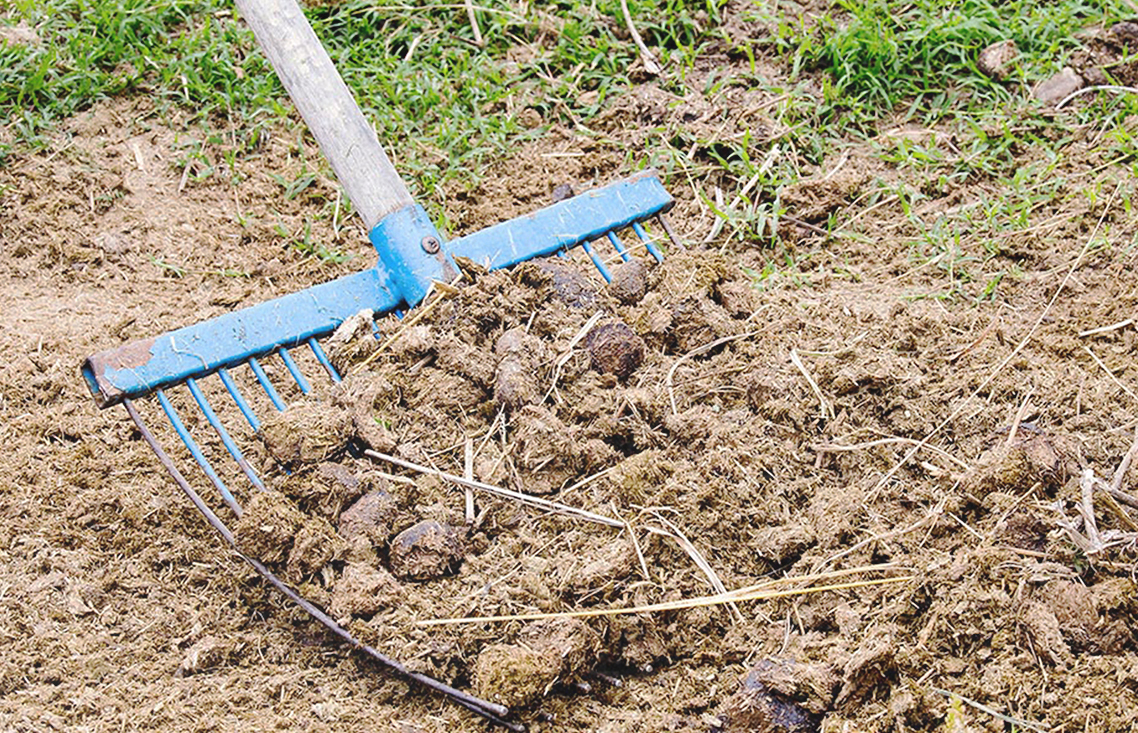
- ⅓ manure – (if it’s old it needs to be chopped or powdered)
- few liters of activator – (can be the mix of the followings: old compost, chopped up greens, animal carcass, fish remains, urine, coffee grounds, charcoal, molasses, seaweed or hair)
Tools
- pitchfork
- rake
- waterproof cover
- compost thermometer (optional)
How to create hot compost
The Instructions
The most important part is the right Carbon-Nitrogen ratio, which should be roughly 25-30 : 1 C to N by layering the right amount of materials. The C:N ratio in the most common examples is the following: sawdust is 500: 1, shredded paper 250: 1, dry tree leaves 150 : 1, straw 40-100 : 1, pine needles 60-100 : 1, bread 40 : 1 , hay 25-40 : 1, grass and green weeds 25 : 1, different manure 8-20 : 1, fish 7 : 1, urine 0.8 : 1, nutshells: walnut 100 : 1, almond 30 : 1.
1. Layers
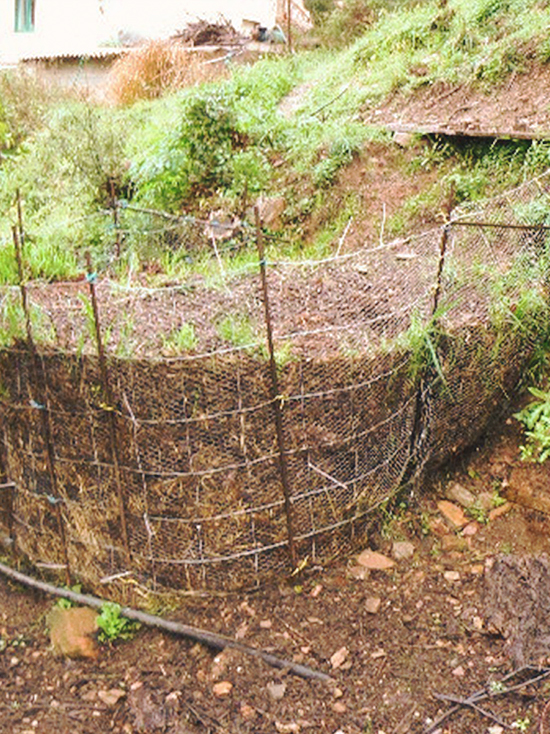
Start the compost with a layer of twigs and branches, to ensure airflow. Then alternate layers of Nitrogen-rich green materials (kitchen scraps, fresh yard waste, manure) with Carbon-rich brown materials (dry leaves, shredded paper, straw). By volume, aim for a ratio of 3:1- 2:1 brown to green. The compost should be cylinder-shaped, with a 1-meter diameter, and a roughly 1-1,5 m3 volume. If done properly, it should not decrease in volume over time. When the compost is built, it should be jiggly. Stick a stick in the middle and cover the heap with a water-resistant tarp.
2. Moisture
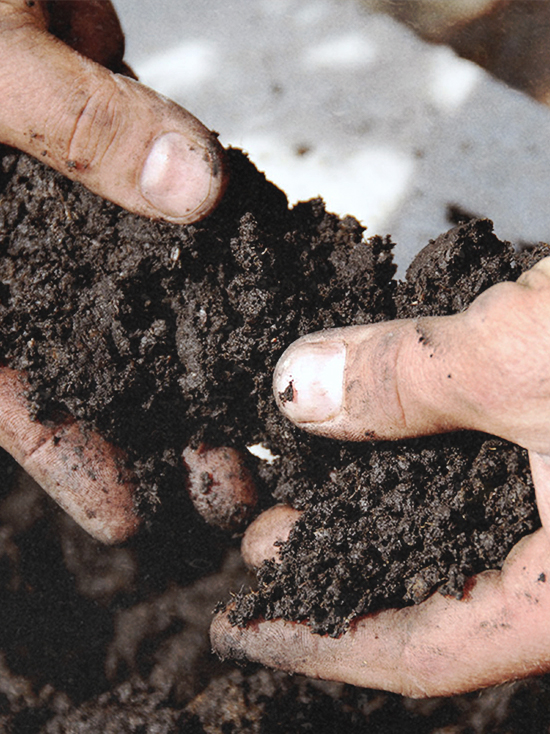
Don’t forget to moisten each layer. Adequate moisture ensures that the microorganism can function effectively, but excessive water should be avoided to prevent anaerobic conditions. To check if the moisture level is at the desired level, take a handful of compost and squeeze it. If only one drop of liquid can escape through your palm, it has the perfect amount.
3. Temperature
Another important factor is the temperature. In the initial stages, it may gradually increase as the microbial activity begins. As the pile heats up, thermophilic bacteria become dominant, further accelerating decomposition. But if the pile gets too hot, over 71°C, the thermophilic bacteria die off. The temperature has to be checked every day, and adjusted to follow the following curve.
4. Warming up
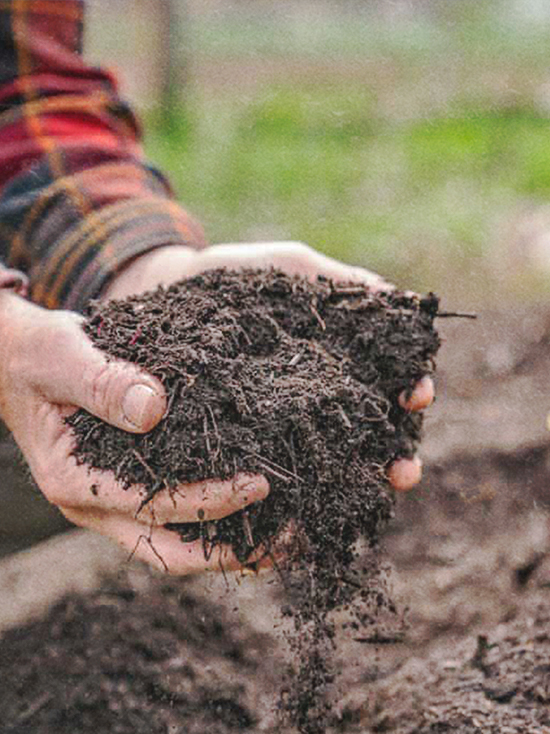
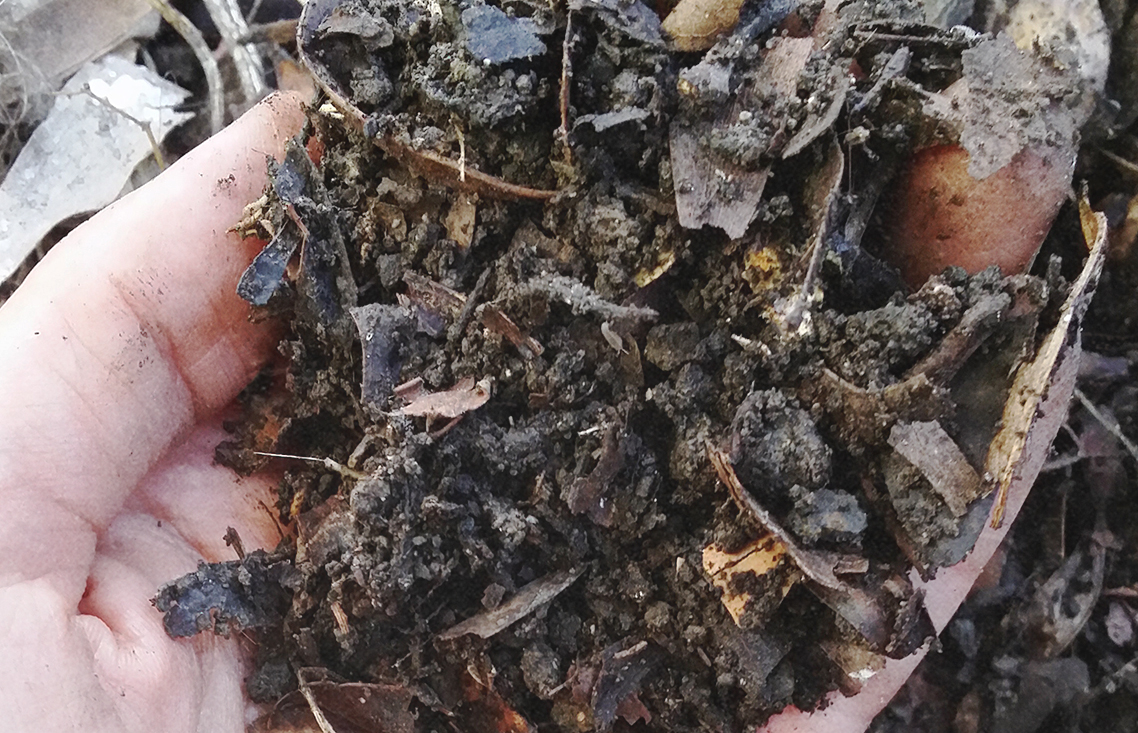
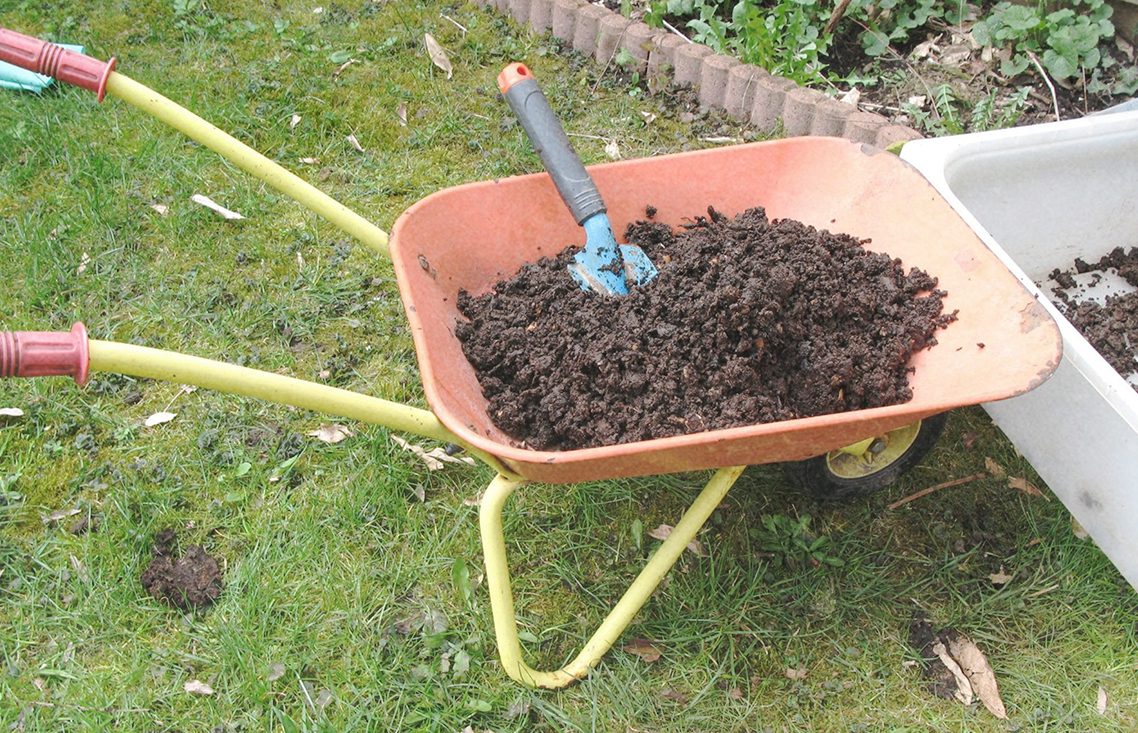
In the first 4 days it should be just warming up, between day 6-8 should be the hottest during the active composing stage, with the temperature in the 50-70 °C, the ideal is 55-65°C. If the pile is cooler on the outside and hotter on the inside, it means it’s a little too dry and should be moistened before covering again. If the opposite occurs, it means it’s a little too wet and some dry material should be added. During the next 10 days, the temperature gradually decreases until it’s just warm enough on the final day. It should turn into a crumbly dark brown, almost black pile with a pleasant earthy smell made up of unrecognizable fine particles, without too many big chunks.
5. Check and turn
The compost must be checked and turned in regularly. After the first 4 days, the pile has to be turned every other day. The material that was outside and on the top should be now inside at the bottom, the inner parts should end up on the surface and so on. The same steps should be repeated every time. Turning the pile incorporates oxygen, helping maintain the aerobic conditions and is also contributing to the generation of heat.
Notes
Side-stepping the obstacles
It is important to note that the 18-day compost method is an intensive approach that requires active management. While it can produce finished compost relatively quickly, not everyone achieves the 18-day deadline on the first approach, and success depends on factors such as the size of the compost pile, the mix of materials, or environmental conditions.
Here’s a little guide to the most common problems and their solutions.
- Step 1: If the pile doesn’t get hot enough, the first thing to check is its size.
- Step 2: If the 1x1x1,5 measurements are correct, check if the moisture level is correct, too wet or too dry.
- Step 3: If both the size and moisture level is alright, then the problem may lie in the high-carbon brown material. Check, if it is finely chopped or shredded as recommended.
- Step 4: If even this is not an occurring problem, then you must check the Nitrogen level. If it lacks Nitrogen, add some manure and give it 2 more extra days. But if it smells funny, loses volume, and gets too hot too quickly, and on top of that white threads wrapped around the chunks, then the Nitrogen levels are too high, thus shredded high C brown materials should be added, and also an extra 2 days.

